Creating Paper Ornaments for Christmas Cards!

Hello Friends!

The first leaves have fallen from our trees, the mornings have started to be a bit cooler, costumes and candy are featured in the stores, and pumpkins are everywhere! And yes, there are Christmas trees with lights displayed in most stores. The holiday are coming! Many of us prepare for them a bit earlier than others, especially if we are creating handmade items. So, it is time for me to start creating some holiday cards!

It is a bit difficult to get into the holiday spirit when the sun is shining and we are still having warm days here in northern California. I needed to find a bit of inspiration. I started to browse through my Christmas papers and previous holiday cards I had created. Of course, checking for ideas online also got me into the holiday spirit. It’s amazing to see so many creative ideas and such talented people in our world! I would like to add a bit of my creativity to this festive season!

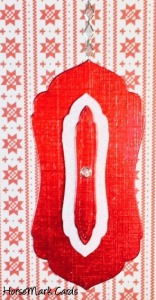
Christmas paper ornament made with label die

I had used my swirl die to create cards from old photographs and a thought occurred to me. I remember seeing some delicate, lace-like Christmas ornaments on a card I saw online. I didn’t bookmark it at the time, since I wasn’t in the Christmas mood. Anyway, I thought I would use this swirl die from Di-Namics along with a circle to create a Christmas ornament for a card. Since my swirl die was rather large, I added a smaller scalloped ‘ornament’, which has a shiny silver star in the middle. (My photography skills are still a work-in-progress.) This is the card I created.
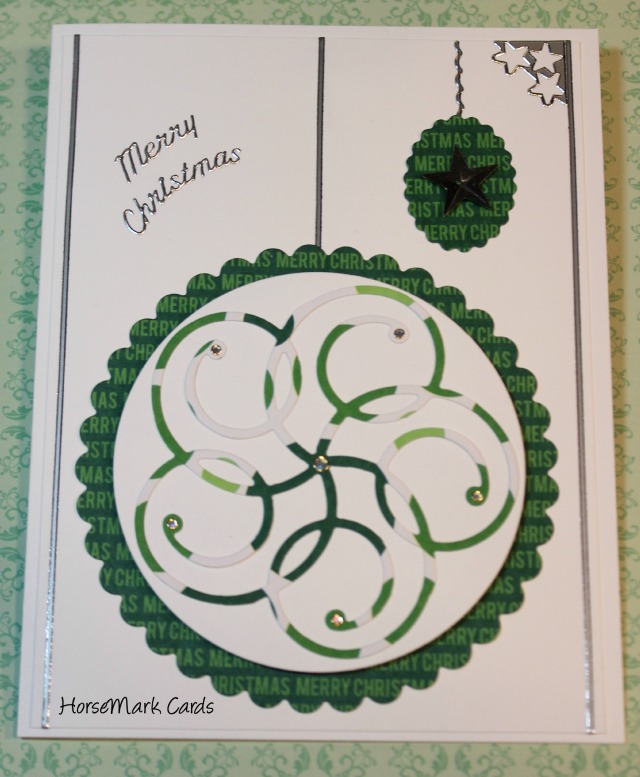
Christmas cards, ornaments, using dies
Christmas card with ornaments created from dies.

Looking through my collection of dies to find other ideas for Christmas ornaments turned into a fun treasure hunt! These scalloped label dies from ‘Nellie’s Multi Frames‘ would make wonderful paper ornaments. These dies are small enough that you can use paper scraps! I layered some different papers together and I created these cards with them.
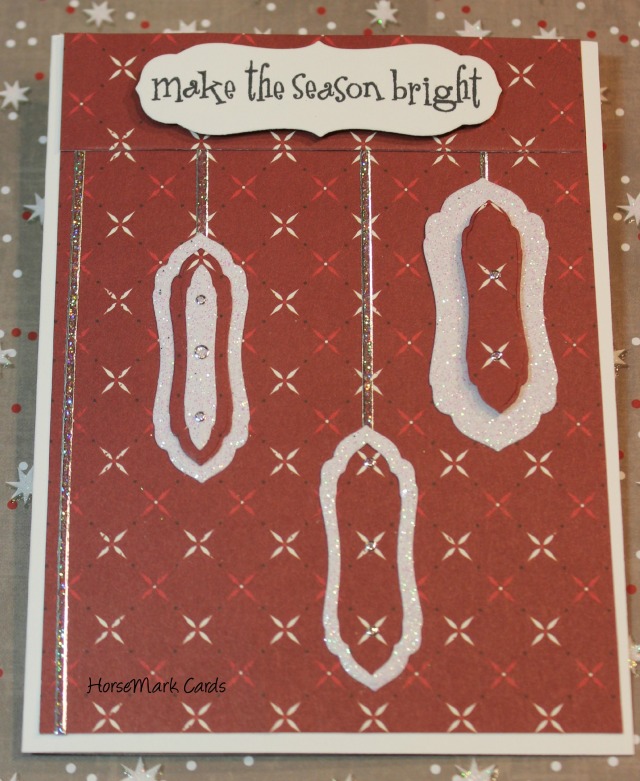
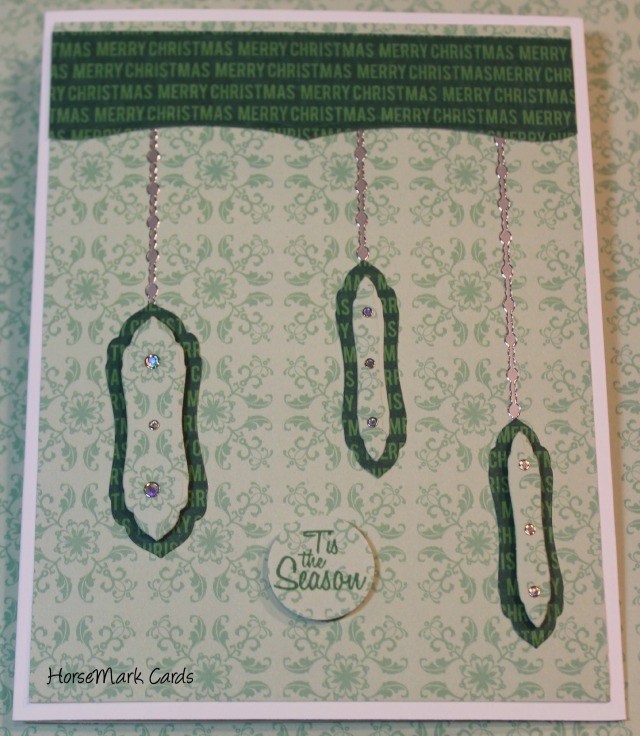
Christmas card with paper ornaments
Christmas card with ornaments created from label dies
Christmas card from HorseMark Cards, paper ornaments made with label dies
Christmas card created with label dies. Add gems to make them sparkle!

Since I create all the Christmas cards we send to our family and friends, I need to make simple cards. A card with a single ornament on the front would be a simple, yet nice card to send out for the holidays.
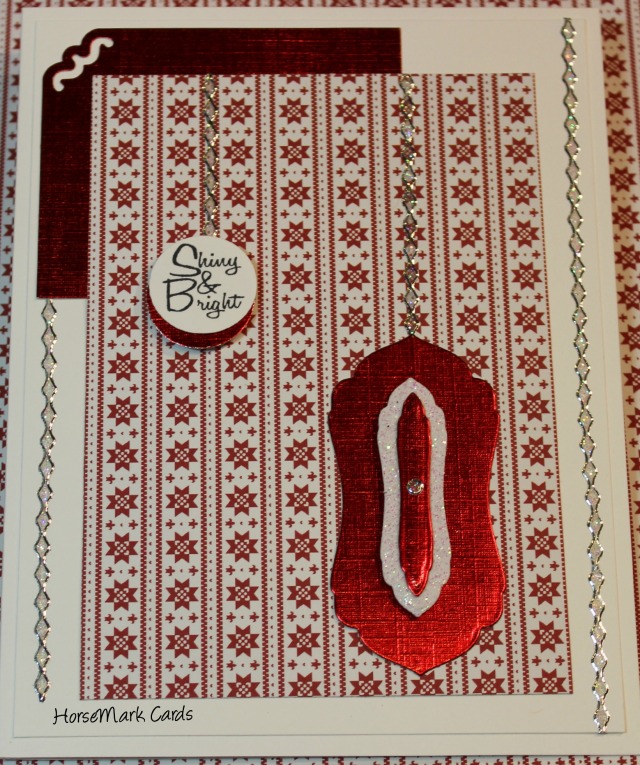
Christmas card created by HorseMark Cards, using paper scraps
A Simple Christmas Card

I used many types of papers and soon found myself having lots of fun deciding what kinds of ornaments I could make. This was also a great way to use some of the paper scraps I have leftover from previous projects! Now I’m in the holiday mood, and keeping very busy creating cards! I know you are all creating wonderful projects for the upcoming holidays too! I’m looking forward to seeing what ideas you have for this festive season!

Thanks for visiting today! Enjoy your creative time!

~ Vickie ~
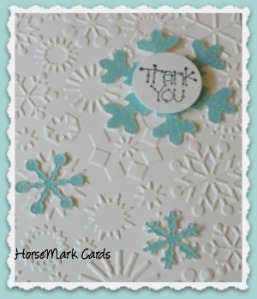
Thank you card with snowflakes created by HorseMark Cards

Fall is Here! You Need a ScareCrow!


YES! There is finally a chill in the air, at least in the mornings! Hopefully the weather will be cooler during the days too, and perhaps some much needed rain will follow! Pumpkins, recipes using pumpkin, autumn wreaths and other fall-related items can be found everywhere on blogs, Pinterest, Facebook, and so many other internet sites. (Visit Time with Thea for her wonderful ideas!) I love it all!

Today I am going to share another fall related item….a Scarecrow!

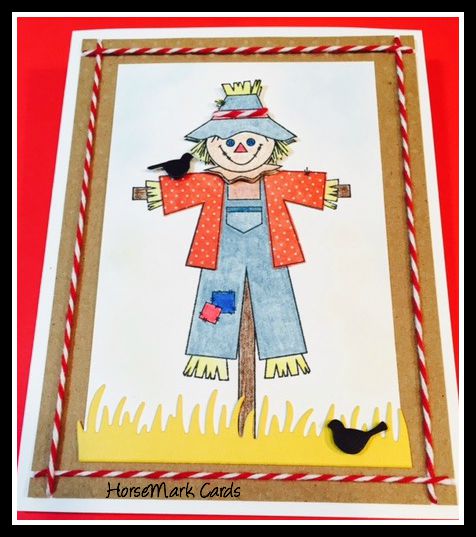
One of my favorite stamps I purchased from Craft Lounge, before they went out of business 😦 about two years ago, was a cute scarecrow. It made me happy just to look at him! I thought he would be perfect to feature today. I would like to share a card I created using this cute stamp and one of my favorite techniques – layering!

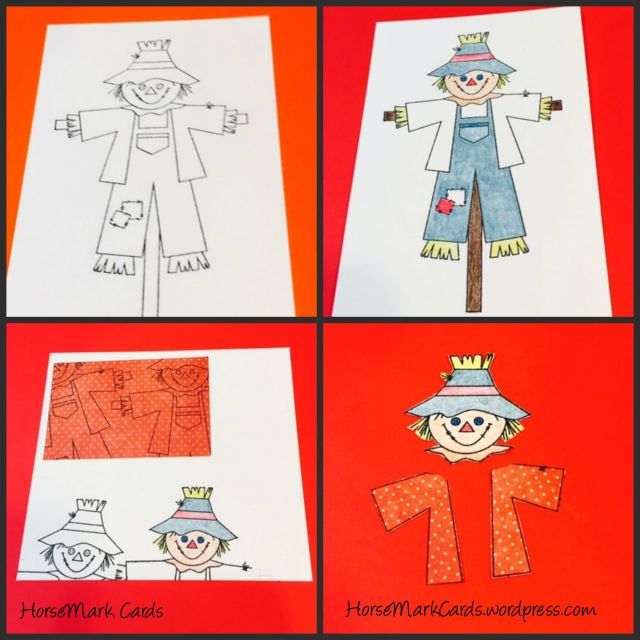
how to make a scarecrow card, layering cards, coloring  a scarecrow, making a card for autumn
These are the first 4 steps I used to create a cute scarecrow card!

Once I stamped my scarecrow on white card stock, I used my pencils to give him some color. I always color my stamps when I intend to add a layer over them – they look better from a slight angle when the colors match. When I took this picture, I wasn’t sure what color shirt I would use, so it was not yet colored.

I stamped another image of the scarecrow’s head and colored it the same as the entire image. (There are two stamped, one was a bit too close to the edge….my bad!) I stamped both sides of the shirt on a scrap of tiny reddish polka dot paper. When I cut these images, I made sure to cut outside the lines of the image. It looks better once you layer it. This is also a great way to use up little scraps of your papers!

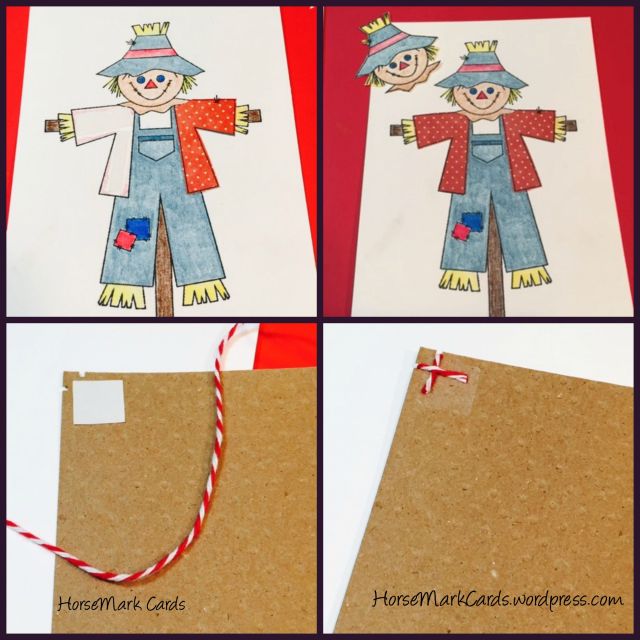
how to make a scarecrow card using layers and baker's twine, created by HorseMark Cards
I added layers to my scarecrow and prepared the embossed base with baker’s twine.

I attached the polka dot shirt with Miracle Tape as I didn’t want it elevated. Foam squares were used to attach his head over the image; he seemed to come alive with this added dimension! Since I love polka dots and wanted to complement his shirt, I embossed the base of the card with polka dots. Using Miracle Tape (my favorite adhesive), I attached a small piece in the corner of my base to adhere the baker’s twine that I wrapped around to make a border.

Now for the fun part! The details! I decided he needed to be nestled in a bed of straw grass and have a couple of birds around him. I added him to the base of my card and he was ready to make anyone smile!

Scarecrow card with birds, grass, using bakers twine, fall cards created by HorseMark Cards
This adorable scarecrow is ready to make anyone smile!

This card can be created for a note of thanks or even a fall birthday! I can see this adorable scarecrow holding some balloons! He can be nested in a fall arrangement, perhaps next to those little pumpkins! (I always seem to think of scarecrows as male, don’t know why!) My mind is so busy with ideas on how to use this cute scarecrow stamp! What would you do with him?

You know I will be creating more cards with this cute stamp! Remember, I can also customize this scarecrow for you! Contact me at horsemarkcards@gmail.com and you can have your own scarecrow card in a few days!

Thank you for stopping by for a visit! I look forward to your comments! Enjoy your creative day! ~ Vickie

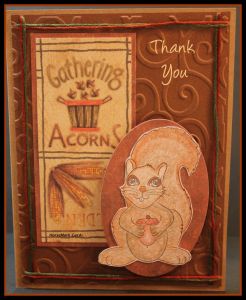
card with squirrel holding acorns, thank you card for autumn
Thank You for Visiting HorseMark Cards

Creative Idea on How to Re-Purpose Old Photographs!


We all have them…lurking in old photo binders, stuffed in photo safe boxes, tucked in a drawer or cupboard that rarely gets opened. Of course, I’m talking about actual photographs that were printed at your local film-processing store, Costco, and FotoMat (remember those little photo processing buildings?)

What could I do with all these old photographs that are taking up precious space in my home? Somehow, just *tossing them into the trash bin seemed too cruel for these precious memories, they still had some life in them. I knew there was an answer somewhere.

After browsing all around the internet, including Pinterest and other popular crafting and re-purposing sites, I could not find an idea that I liked. A friend told me about a man she once worked with who cut up his old photos and crafted them into a beautiful mountain scene, which he framed and had on his office wall. She said it looked nice, but I think that idea was out of my creative range. I guess I had to turn on my ‘thinker’ to come up with an idea on my own.

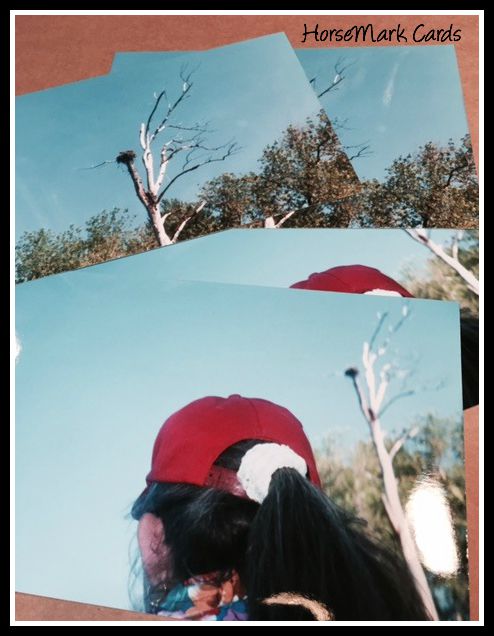
While going through my old photographs, I came across an envelope that held duplicate pictures of a river cruise I took with my sons several years ago. While taking a picture of a birds nest in a tree on the bank of the river, I captured the back of a fellow passenger’s head. (Not the photographs I wanted to remember for this adventure.) What caught my eye in this particular photo was the beautiful blue sky that took up most of the space. Bingo! My ‘thinker’ worked and I knew how I could re-purpose this picture! (This is also the teaser picture I posted earlier!)


ideas to use duplicate and old photographs, handmade cards, creative ideas for making cards, horsemarkcards.wordpress.com


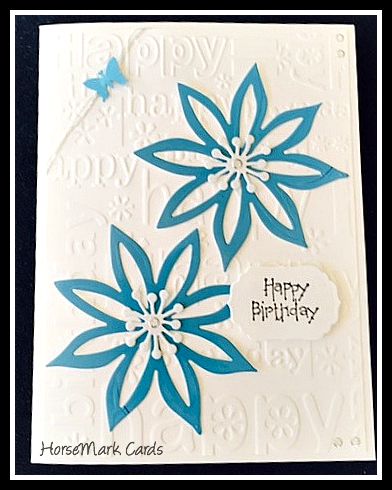
I quickly took out my flower die, and place it over the blue sky, and created petals of a flower! The photo paper is thick enough and of such great quality that this flower was perfect to place on a greeting card!


flowers created from old photpgraph designed on birthday card


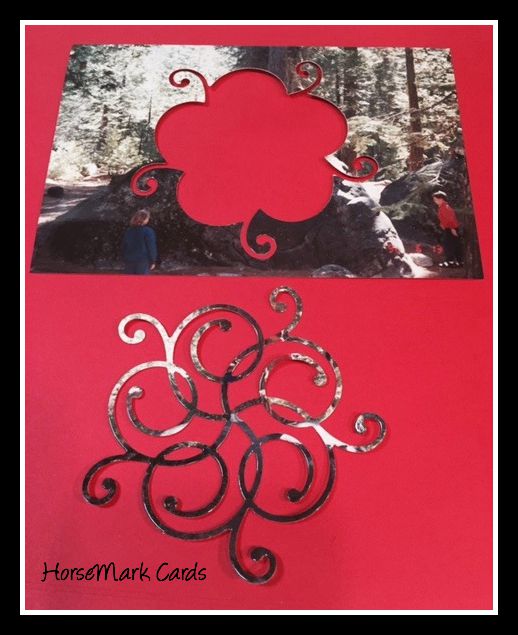
Well, once I created this card, there was no stopping me! I looked through my dies to find ones that were thin enough to use on more photographs. One picture of a group of people with different colored clothing was perfect to use, however I did not want images of eyes or heads peering out of a flower or swirl. (Too creepy!)


using die cuts from old photographs to create cards by horsemark cards


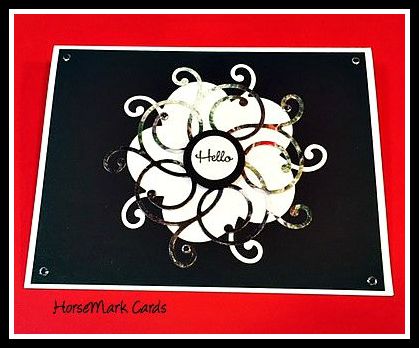
I love this pretty swirl die cut from Di-Namics and decided it was perfect to use to create this note card. It was thin enough so the fragmented image of someone’s leg or head would not be seen at the end of a swirl!


notecard created using die cut and old photographs


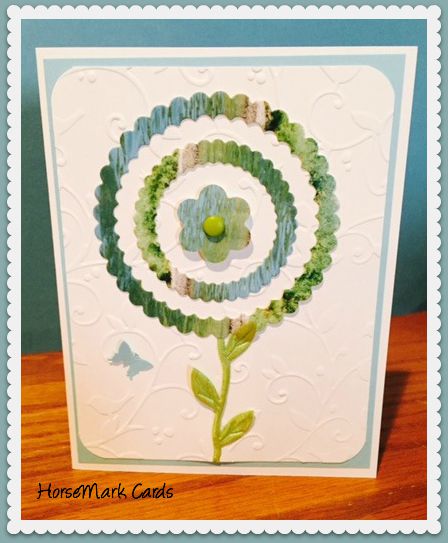
The pictures of scenic views were more appropriate for thicker dies and cuts. Seeing a portion of a tree or river on a finished flower provided the right combination of colors, as you can see on this card I created. I adjusted the cuts of the scalloped pattern to balance the colors of the flower.


Flower Card created from photo, Framed


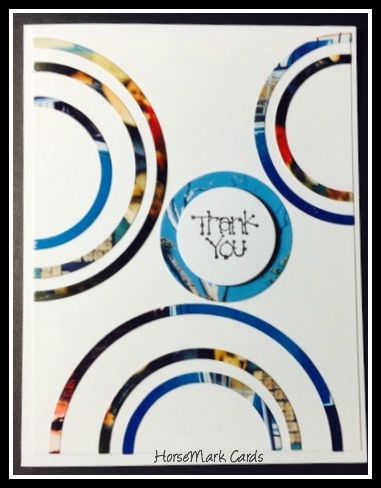
The different finishes on photographs (matte or glossy) can add some variety to this technique. I also thought about other dies I could use to create cards with my new idea. A rainbow die from Di-Namics was used to create this thank you card.


thank you card created by HorseMark Cards from old photographs


I also took the portions of photo paper left over from printing my own photos to use as the backgrounds or accent pieces on my cards. My post on Thank You Cards shows you how I used photo paper to make snowflakes, a snowman, and a snowflake wreath!

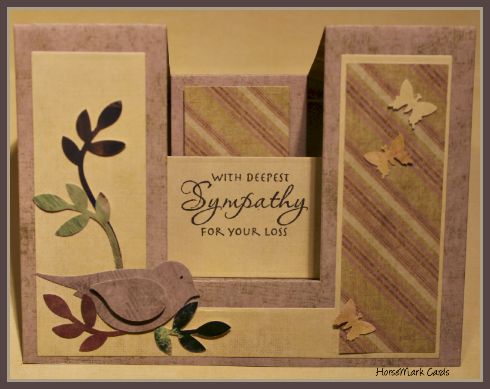
Since we camped several times when our boys were younger, I have many photos of trees. I used my Stampin’Up die cut to create some leaves from one of these camping pictures and created a nest for the bird. I needed a sympathy card, so I used the leaves to create this muted card.


sympathy card with bird in nest, using old photos, butterflies on cards


Many times I have to control my urge to purchase more papers to add to my ever-growing collection. Now, I have added more ‘papers’ to my collection, in the form of these old photographs! Not a problem, as I am re-purposing these to create something useful!

So, what do you think of my idea? Would you re-purpose your old photographs using this technique? Do you have other ways to use old photographs? I would love to hear about the ideas you have!

Thank you for visiting my little creative corner. I hope you have a wonderful day in your creative world!

~~Vickie

*Here is a link for ideas on how you can safely recycle old photographs, as some of the old photos and negatives contained harmful chemicals.

Simple Gift Ideas – Handmade Coasters


Many people who enjoy creating things use items like paper, fabric, wood, or most anything! Today’s post will feature fabrics, and falls under my blog category, ‘…and a little bit more!’

One of the reasons I enjoy blogging is ‘meeting’ new people and sharing the ideas we learn from the blogs we follow. One of my favorite blogs is Sew Many Ways. Karen is the crafty author of this fantastic blog. She has so many creative and clever ideas for so many projects, so make sure to pay her a visit!

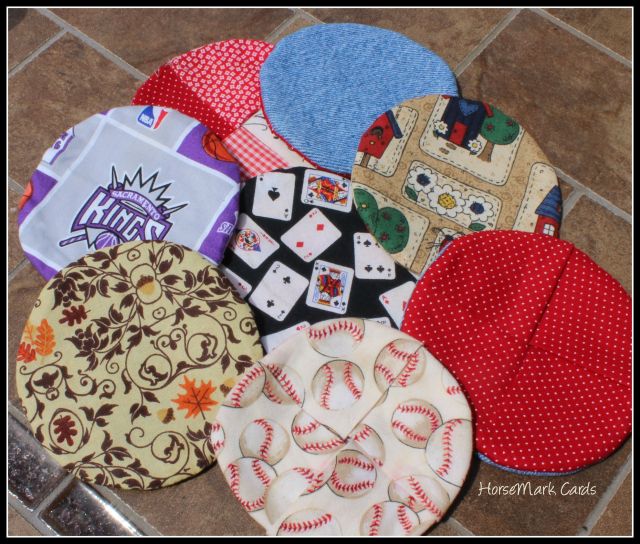
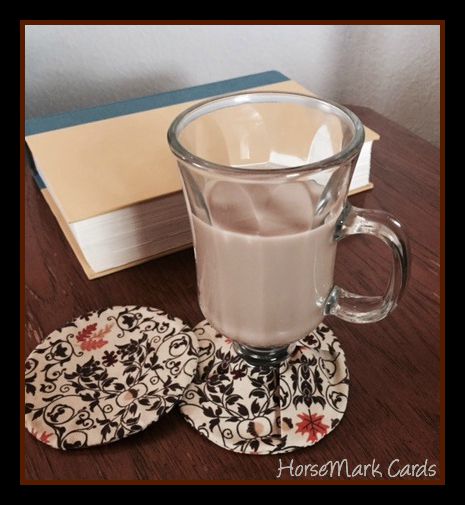
A few years ago, Karen posted a tutorial on making coasters using a CD. Since these are made from fabric, they soak up the condensation from cold drinks. (Many of the coasters with the cork or other hard surfaces tend to leave a ‘puddle’ of water on them and they often stick to the glass.) I also love that you can easily attach the coaster to a stemmed glass or pedestal cup, or use the reverse side for a regular cup or glass. So, these fabric coasters are perfect and I thought they would be fun to make! I thought I would share a few that I have made, perhaps to inspire you to create some too!

coasters made from cd pattern, fabric coasters
These coasters can be made using a variety of fabrics!


Scraps of various fabrics I had in my stash were used to create a variety of fun coasters. Since I usually don’t use a pattern when I create quilts, there are usually several cuts of unused and left over fabrics that fill my stash. Several squares of denim fabric from my son’s jeans were left over from the quilt from toddler’s clothes I made him years ago. I combined these with a bit of red fabric to make fun coasters for our family room.


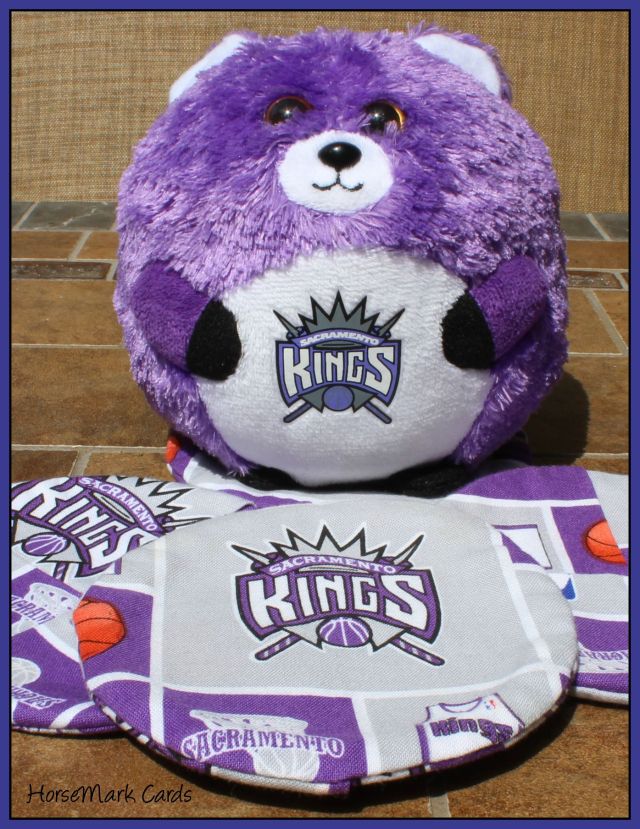
coasters made from NBA fabric, the Sacramento Kings
Coasters of my favorite NBA team – the Sacramento Kings!


I had an idea to use the extra fabric I had after I created a favorite sports team quilt for my husband to make some of these coasters. I had to purchase some sports fabrics online and ordered more than I needed for his quilt. The fabric for the Sacramento Kings basketball team was perfect to make several coasters! We share season tickets with friends, so I gave them each a set of four coasters when we hosted our game selection get-together last year.


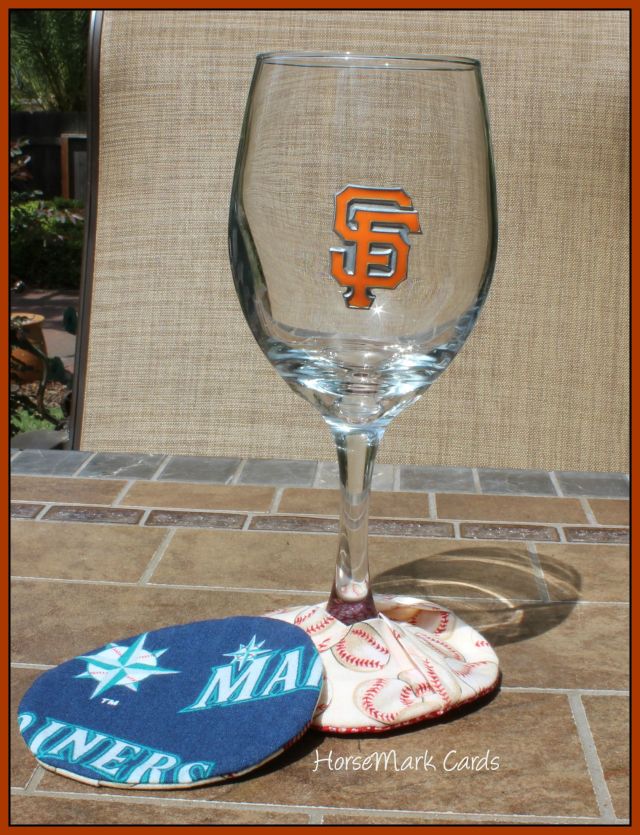
fabric coasters made for baseball, san francisco giants coasters, seattle mariners coasters
Coasters I made for our favorite baseball teams!


The only fabric I could find for the San Francisco Giants was in a fleece, which I felt would not work well for these coasters. But, some left over baseball fabric from a quilt I made for our nephew was perfect to pair with the Seattle Mariners baseball team fabric I used in the sports quilt!


coasters made from leaves and acorn fabric
This fabric with tiny leaves and acorns is perfect for autumn.


I also created a few for my living room to use during the fall. We have a huge 300 year old oak tree in our front yard. I found this fabric in colors that matched my room, with a bonus — it has acorns! These coasters are perfect for my cup of foo-foo coffee or a nice glass of wine!

So, if you’re looking for an idea to create some fun gifts and use some of your fabrics, these coasters are perfect! They are very easy to make too! They can also be used like wine charms; they can identify your drink from others. This is a good reason to make a variety of coasters using the same theme, but perhaps in different colors.

Thanks again to Karen for the inspiration and all of her ideas!

Enjoy your Creative Days! ~ Vickie

A Creative Way to Use Your Crock Pot!

What is a crock pot idea doing in a handmade cards blog? Well, my blog is about all things creative! This post just happens to fall under the ‘…and a little bit more!’ category. 🙂

I have been updating all my links on past posts (a necessary task), when I came across this post that was originally seen on my old blog in 2012. Since the cooler weather is going to arrive, hopefully, I thought this would be a good time to revive this post. Since some of my blogging friends’ children have left their nest, I think this idea could be helpful in preparing smaller meals.

OK. On with the post…..

Since it has been so cold these past several days, I thought I would share this post about using a large crock pot.

My husband and I have recently become members of the ‘Empty Nest’ community. While our two sons were living at home, many meals were prepared using my large crock pot. Those of you that have raised teenage boys know what I am talking about when I say you need large pans, skillets, and crock pots when you are feeding these fellas! Big appetites… that never seem to be satisfied!

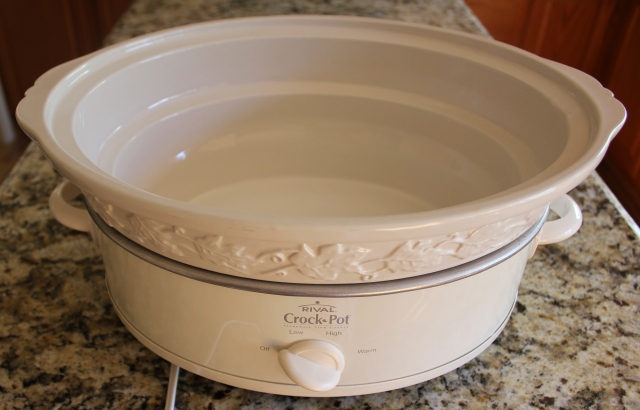
Well, now that they have flown away, I still enjoy preparing crock pot meals for me and my husband. When I took this out of my cupboard, I looked at it and thought about how much food it would hold. No way was I going to put a couple of pieces of chicken in this large dish and have it cook to my satisfaction….it was just too big!

crock pot, using larger crock pots, creative use of crock pot,
My large crock pot is
too big for smaller
meals!

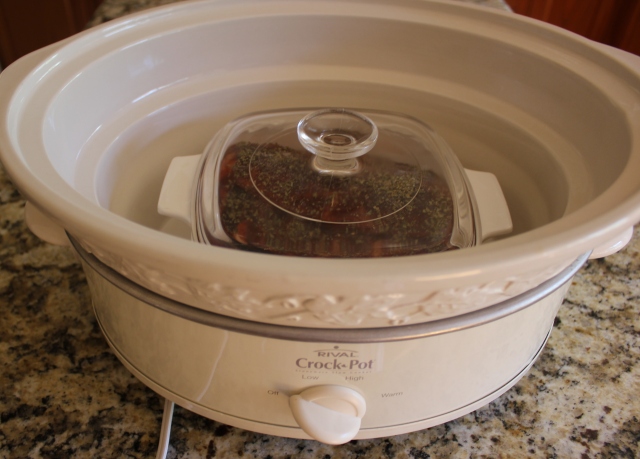
I put my chicken into a smaller casserole dish and thought I would just bake it in the oven, when it occurred to me that I could set it inside the crock pot and cook it there! I would have the wonderful aromas of my chicken filling my kitchen and have an easy dinner prepared! (I did have a plan B…if this idea didn’t work, I could have my husband take me out for dinner!)

making a smaller crock pot, ideas for empty nesters, crock pot ideas
A smaller casserole dish
fits inside my large crock pot
for smaller meals!

Well, it did work! It took a little less time to cook, naturally since there were only three pieces of chicken in it instead of twelve! I did put the lid on the smaller casserole dish and the regular crock pot lid. Now I am able to still enjoy the convenience of using my crock pot for smaller meals.

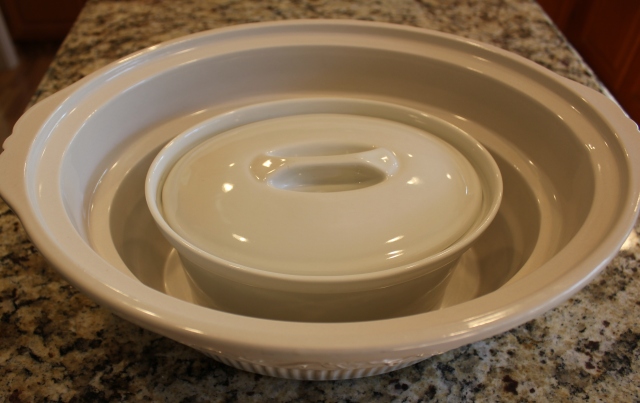
I remembered I also had this oval casserole dish, which is a perfect fit since my crock pot is also oval. When the meal is cooked, simply wipe out the larger dish and you are all set for the next meal you prepare! One smaller dish to wash is much better…and it fits in my dishwasher!

My oval casserole dish is a perfect fit inside my larger crock pot!
My oval casserole dish
is a perfect fit inside my
larger crock pot!

This method allows me to still use my large crock pot and not have to purchase a smaller one! I still use it to make some foods that I am able to put into smaller portions and freeze for easy dinners later. It is also nice to keep around so I can make meals for my sons when they come for visits!

I hope this idea helps you with preparing smaller meals. I would love to hear your comments on what you have cooked using this idea or what ideas you have come up with to prepare smaller meals! Feel free to share some recipes too!

Thanks for stopping by!

~~~Vickie

Once you have your meal cooking in your crock pot, why not take a peek at HorseMark Cards! 🙂