
I am always looking for ideas to use items in different ways. If you have visited my blog before, hopefully you will remember my previous post on How To Make Layered Flowers. Well, I have come up with another way to use these flower die-cuts—make pretty little butterflies!
When I was making my flowers and cut pieces from the My Favorite Things die cuts, I noticed how one looked as it sat on my worktable. It gave me the idea to use it to make a cute butterfly embellishment to use on my cards.
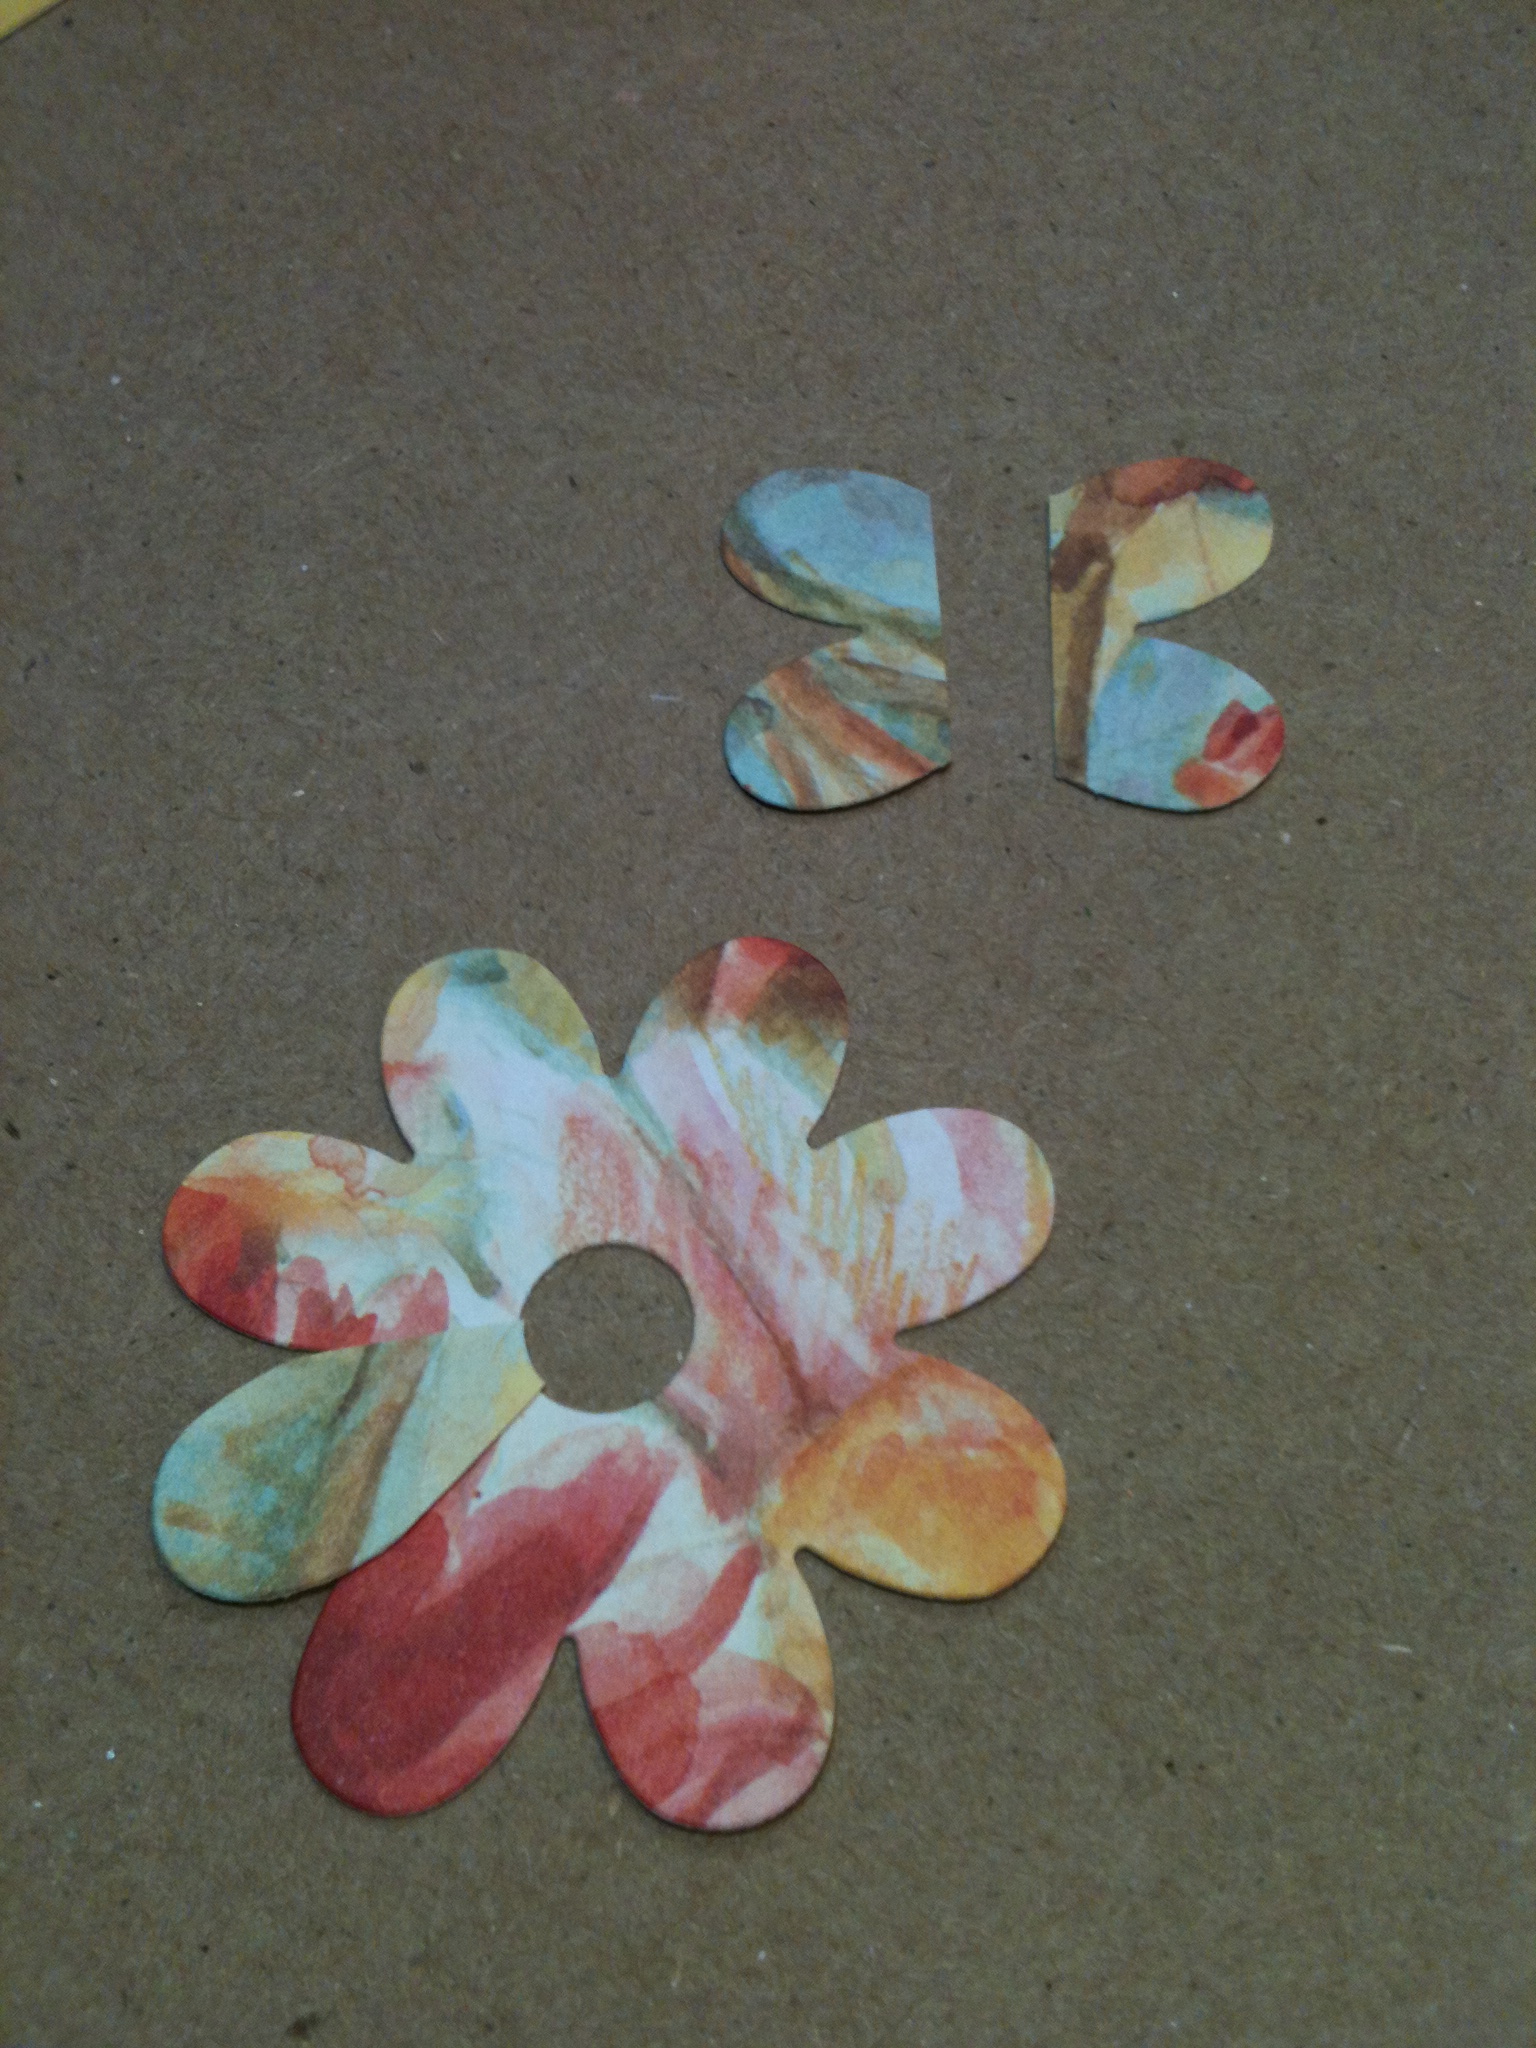


Cut a flower from the die-cut, using pretty paper. Trim off two sets of two petals, rounding the corner edges. Make a straight cut with scissors to match the two petal ‘wings’, leaving one side slightly wider. Use a small strip of 1/8′ miracle tape to adhere both wings.
I used a small strip of the ‘Dazzle’ Stickers for the body of the butterfly and two shorter stickers for the antennas.
Since I try to use every bit of products that I can, I found the leftover ‘scraps’ of stickers make a great butterfly body. I just started at the back of the butterfly and layered the pieces until they reached the head of the butterfly. I used a small dot sticker for the head. I made this butterfly from a stamp, but I think the sticker body adds a bit of sparkle.


I like to attach just one side of these ‘flower’ butterflies on my cards, so I can slightly bend the other side up to give it a ‘flutter’ look.


I hope you enjoyed reading about making butterflies using flower die-cuts, stamps, and sparkly stickers. You can stamp or die-cut portions of a flower from paper scraps, so you can use all of your products. You know me, I don’t like to waste these beautiful papers!
Thank you for visiting my blog. I would love to hear your comments on what ideas you have on making different things in your creative world! Enjoy your day!
~~~Vickie

How lovely !!
Thank You!
That’s so cool and creative Vickie! I don’t have the patience to do something like that which is why I admire you for not only being so creative but for doing all that work too.
I love those…
~Adrienne
Thanks so much, Adrienne. Luckily, this really isn’t work for me….it is almost like therapy. I enjoy it so much and so thankful I am able to do it.
I appreciate your comments and visiting my blog. Enjoy your day! ~~Vickie
Wow! 2 Adrienne’s in a row!
I absolutely love the middle card! I have recently gotten into making homemade cards (my first attempt was for Valentine’s Day), so I will definitely be back for more great ideas!!
Adrienne
Adrienne,
Thanks for visiting my blog and leaving such a nice comment. It is so nice to have two Adrienne friends!
I hope you enjoy making your cards as much as I do. Looking forward to sharing ideas! Enjoy your day and happy Creating!
~~~Vickie